

Big system customizations are not always necessary. Many daily routine workflows can also be automated relatively easily in the Odoo standard helping you and your employees to save a lot of time and work more efficiently.
The “Automatic Actions” function is especially useful for this: it is an advanced standard Odoo function that is used to trigger certain actions under certain, specified conditions.
In the following, we will show you step by step how you can easily configure such an Automated Action to send automatic payment confirmations via email directly from your Odoo to your customers.
How to find automatic actions in your Odoo
To use automatic actions, you need to configure your Odoo as follows:
- First, you need to enable debugging mode. There are two ways to do this:
- Number 1: Via Google Chrome. For this, add this google chrome extension to browser.
- Click or double-click on the


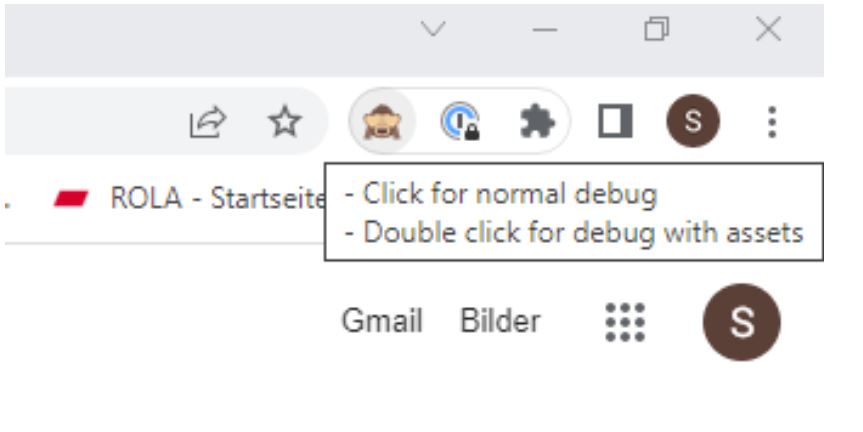
-
- The symbol will change to


- Number 2: Alternatively, you can also go into the

- Scroll down to Developer Tools and enable debugging mode.
- The symbol will change to
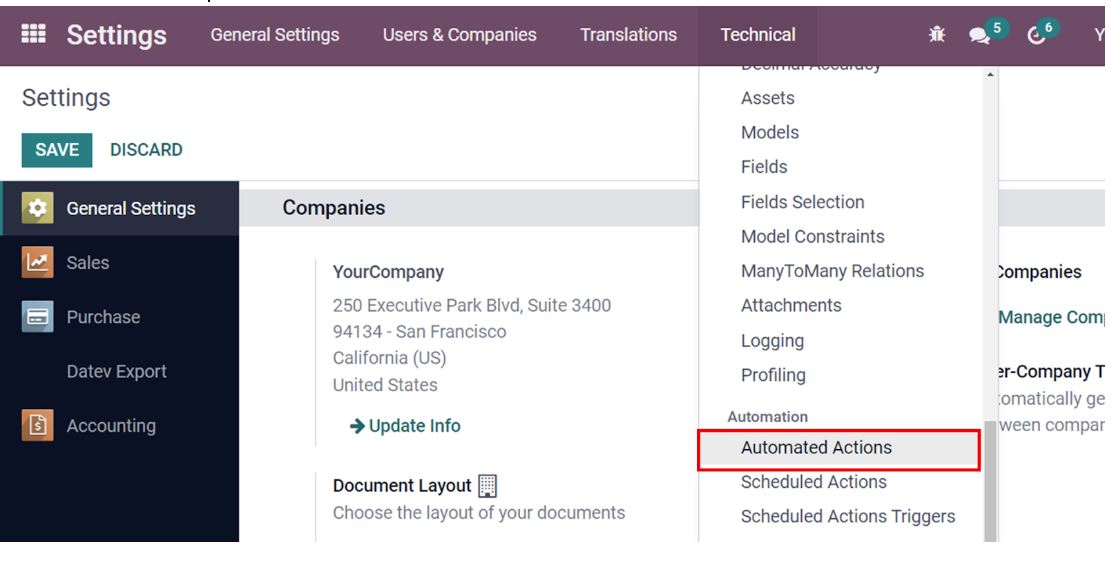
- Once the developer mode is enabled, click Technical >> Automation >> Automated Actions.


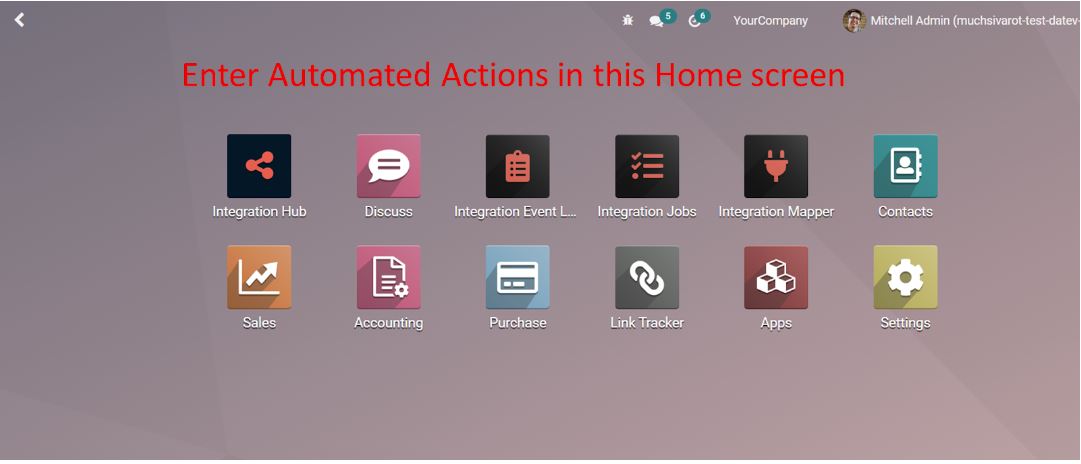
3. You can also type “ automated actions” on the home page of your apps and Odoo will suggest possible search results.
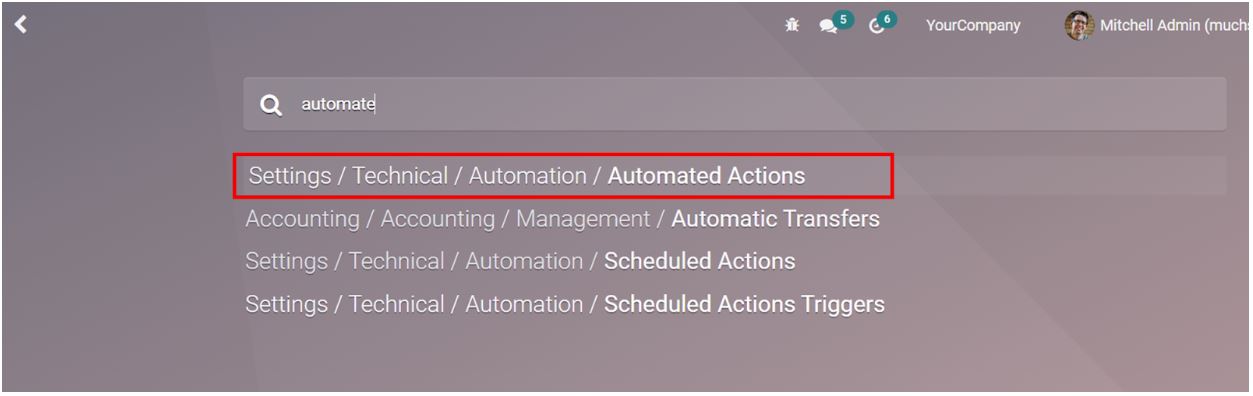
4. Click Automated Actions to confirm your selection.
How to set up automated payment notifications in Odoo
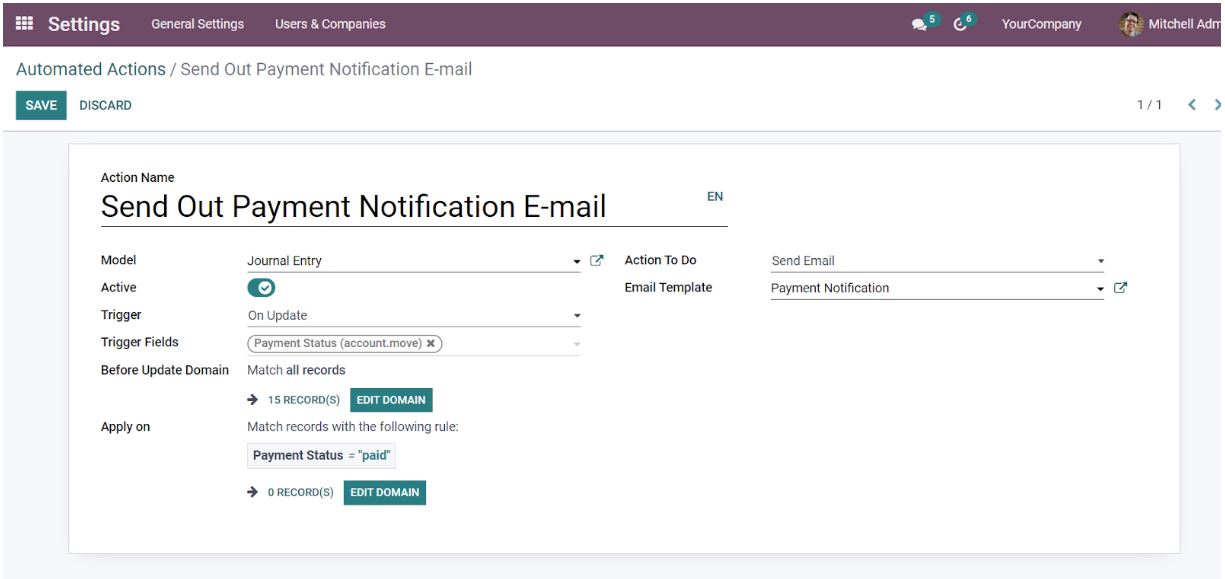
Now to enable automated payment notifications from Odoo, you need to create & configure an appropriate automated action.
1. create an automated action as shown in the following image.
2. If there is no email template yet, you can create one by clicking the 
3. the email template should be created as shown in the following screenshot.

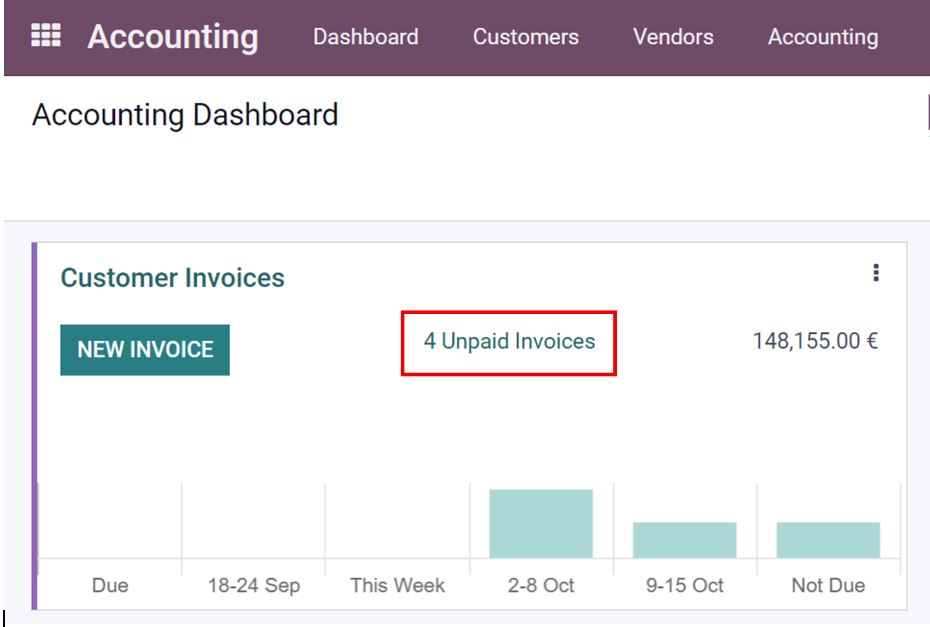
4. Let’s test this now. Go back to the accounting app. As an example, let’s assume that there are now 4 unpaid invoices here.
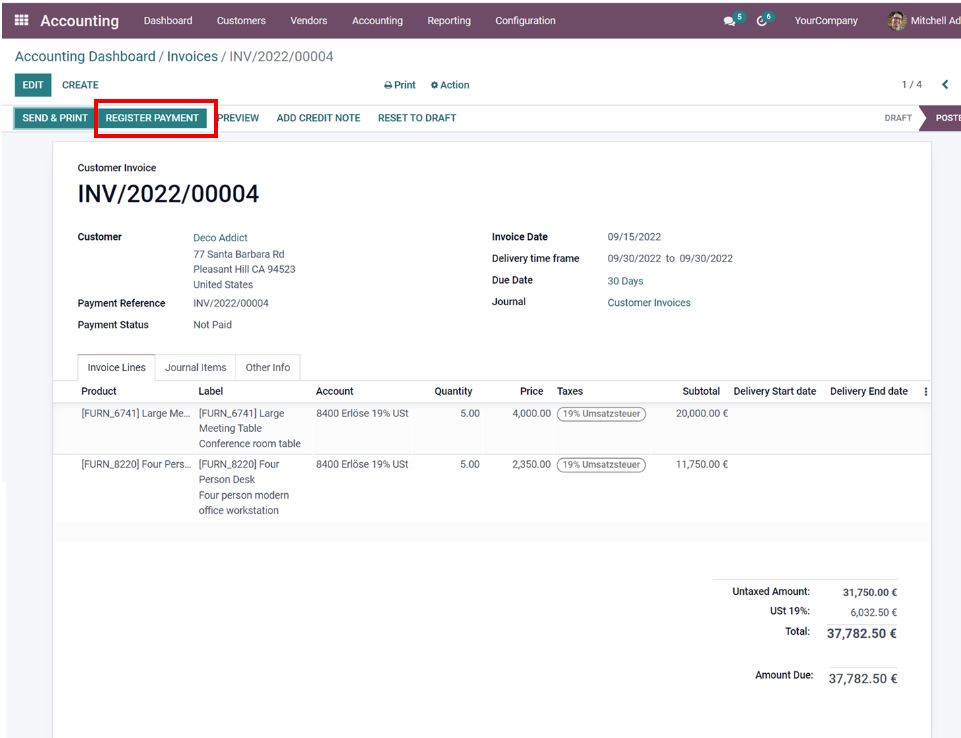
5. Now select an invoice that you want to process.
6. click on the REGISTER PAYMENT button.
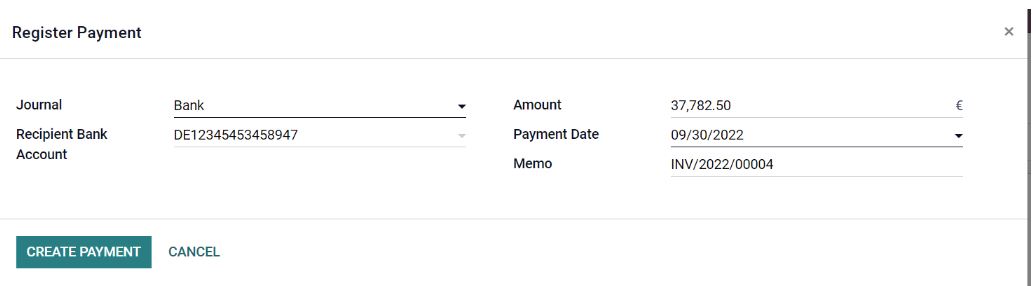
8. Confirm by clicking on CREATE PAYMENT.
9. The invoice is now “IN PAYMENT” but still needs to be reconciled.

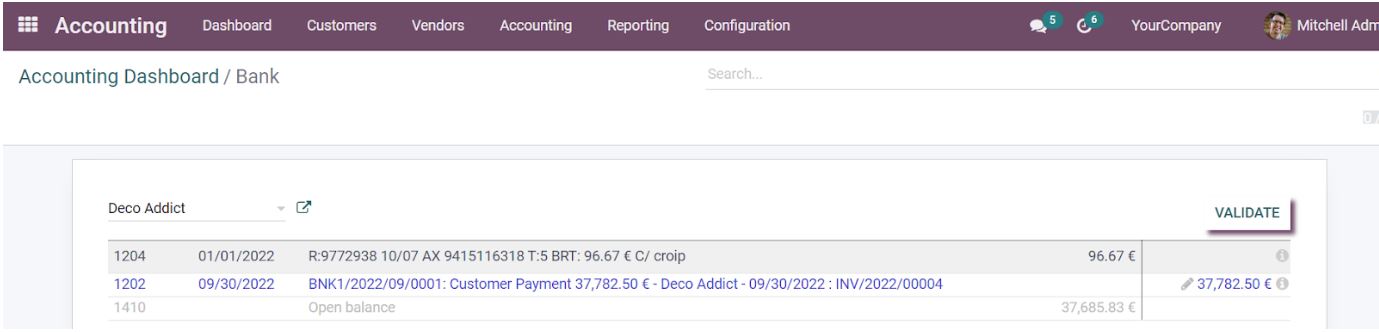
10. If you now return to the main view of the accounting app, you will see that there are items here waiting for payment reconciliation.

11. Reconcile them by clicking on the VALIDATE button.
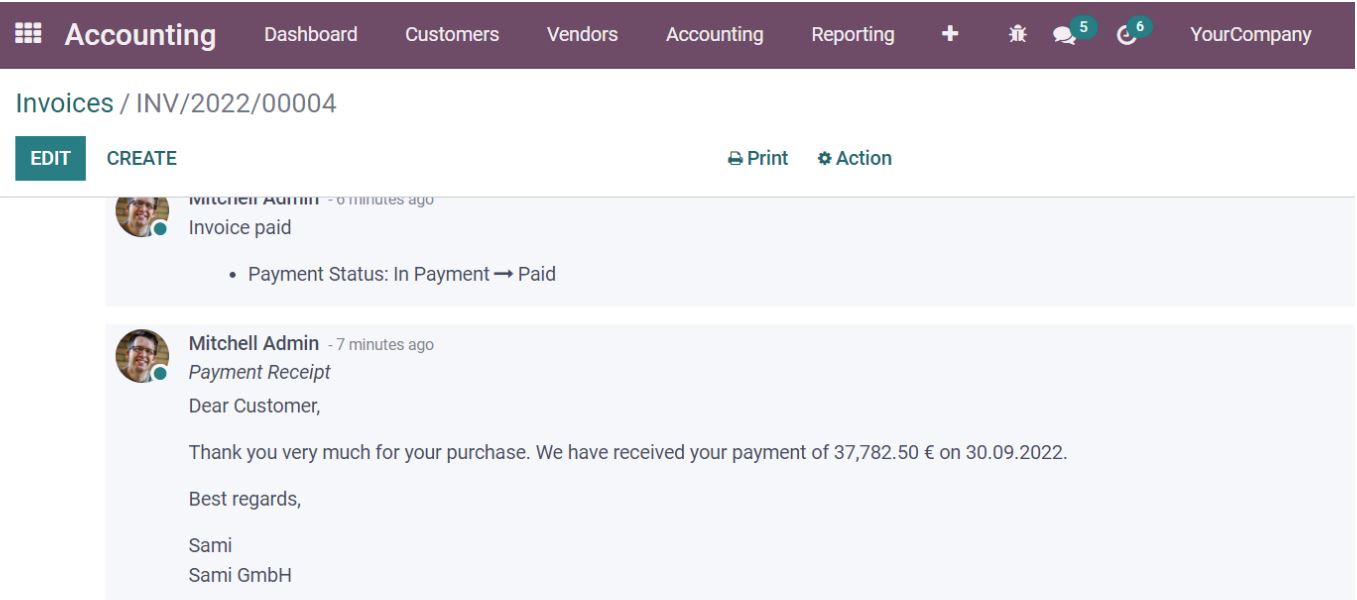
.12. The customer would now receive an email notification that looks similar as shown below (example based on Odoo Chatter).
Looking for the right partner for your Odoo project?
Then much. Consulting is the perfect choice for you! As one of the largest Odoo Gold Partners in Germany, we support companies of all sizes and industries in the successful implementation and long-term management of Odoo projects.